
Making a Box for our Shapeoko
The step-by-step build video is in the link below:
After taking advantage of Black Friday deals, we picked up a Shapeoko XL to get our feet wet with desktop CNC-ing.
Since our garage workshop space is generally limited, the home for the Shapeoko is in our extra bedroom/office. So to keep the dust relatively contained and the noise minimal we designed a simple enclosure for the CNC.

The original design we created had a wide framed door that lifted up and into a pocket at the top of the enclosure.
Since our woodworking skills are mediocre at best, we failed to execute this design and tackled a more novice route. But we have a free Fusion 360 file for those of you who want to try it out.

The design of the enclosure gave us an inside area of 48” x 26” x 24” (L x W x H)
We cut all the panels using a straight edge and circular saw

After cutting the panels, we used a random orbit sander and sanded the panels up to 220 grit.

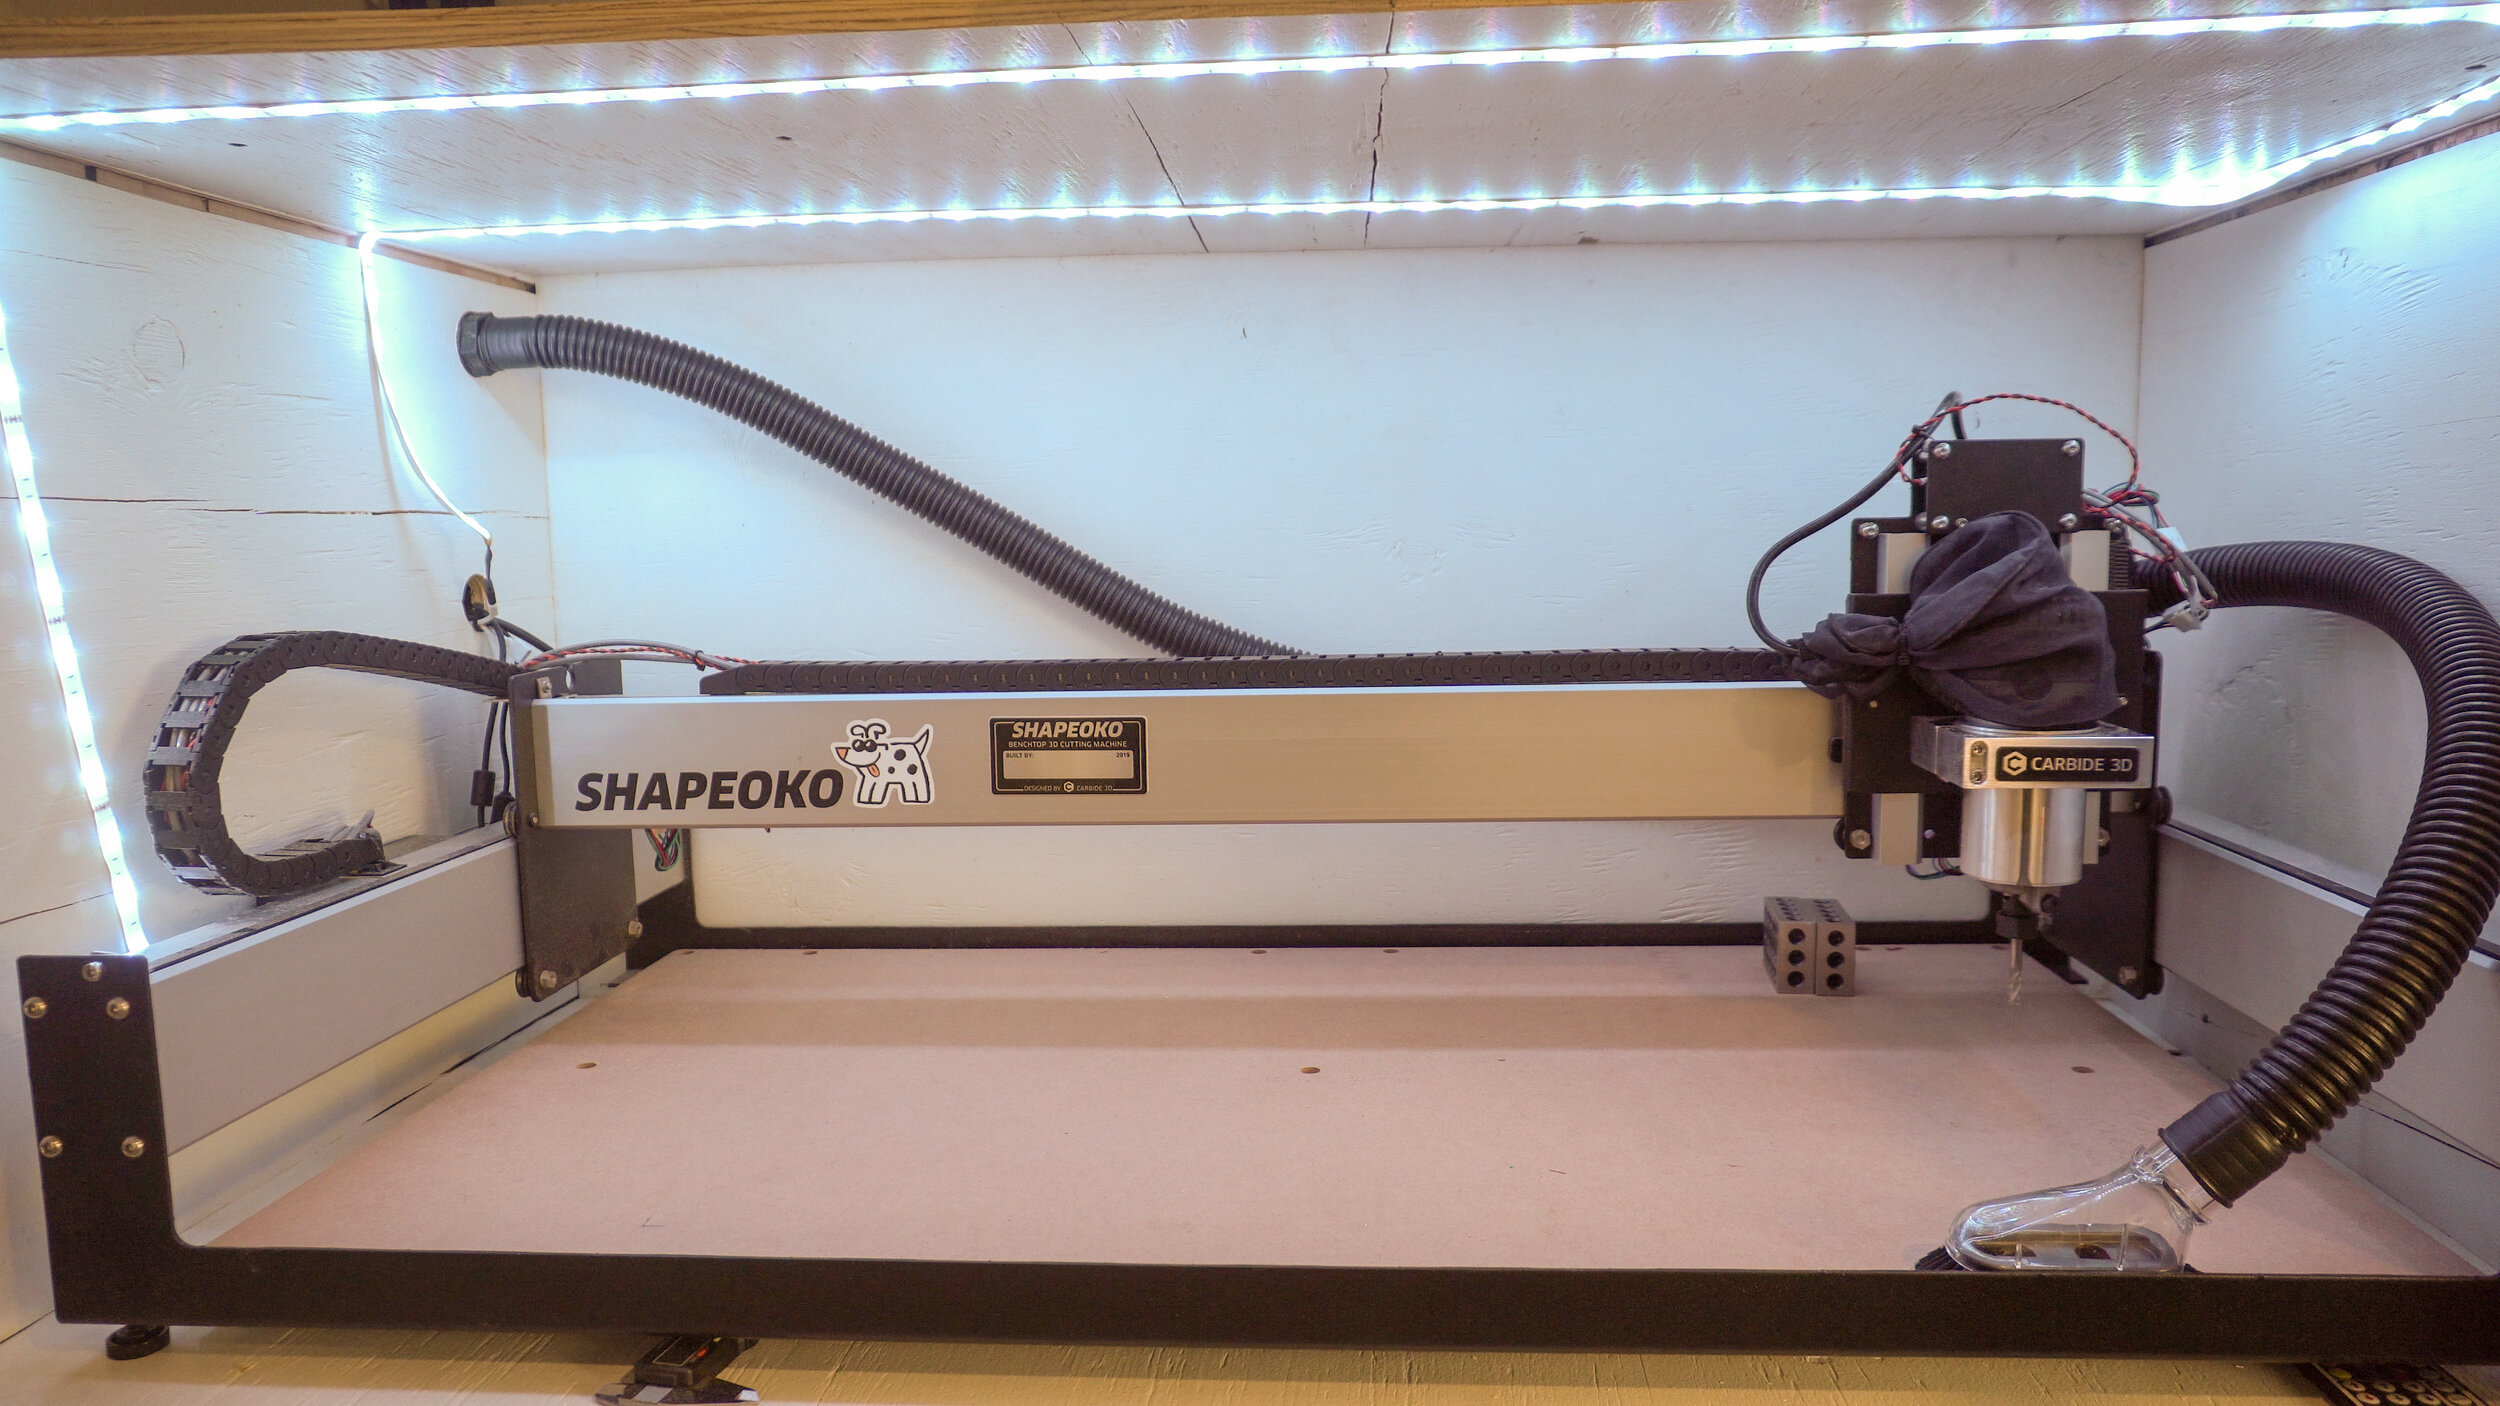
In order to have the maximum amount of light inside the box, we painted the inside panels white


To make the box construction easier, we used our kreg pocket hole jig and wood glue to construct the five walls of the box.

The front doors have a cutout for acrylic panels, so we can keep an eye on the Shapeoko while it does its thing.


We wanted to route a vacuum hose inside the enclosure, so we made a fitting mounted through one of the walls so we can quickly disconnect the hose if we wanted to move the enclosure for any reason.

We made a simple latch to keep the doors secure using some left over pine and piano hinge from our Standing Desk we made a few months ago.

And this is the final masterpiece.
Albeit, this isn’t the best CNC enclosure ever designed and built, but the point is to keep some dust contained and evolve with our skills as newbie hobby machinists.
Thank you for following along!