
DIY Carbon Fiber Onewheel Fender
I gifted Louis a Onewheel recently and once I saw him ride, I wanted in on the fun, so I scooped one up for myself. In this project, we’ll show how we made a carbon fiber Onewheel fender and share what we learned along the way.
You can check out the entire build video in the link below:
All of the supplies we used are linked below:
Carbon Fiber Fabric: https://amzn.to/3kiHiSD
Chopped Fiberglass Mat: https://amzn.to/33AltrU
Total Boat 5:1 Epoxy: https://amzn.to/33ynx3x
Modeling Clay: https://amzn.to/2Punduj
Clay shaping tools: https://amzn.to/2PtiCZg
Water Based PVA film: https://amzn.to/31q7WjR
Nylon Vacuum bagging film: https://amzn.to/3fyQPRS
Silicone Flow media: https://amzn.to/30z6Y5J
½” Vacuum T Fitting: https://amzn.to/2EZCH7N
½” Spiral Wrap: https://amzn.to/3iisfGW
½” Vacuum Tube: https://amzn.to/31l1Jpm
Vacuum Pump Kit: https://amzn.to/2PtjU6y
Chip brushes: https://amzn.to/2XwDByL
Tacky Tape: https://amzn.to/33AnMv4
Plastic Pry Tools: https://amzn.to/2XAhvvm
Epoxy pigment: https://amzn.to/30A16Ja
Foam Core Board: https://amzn.to/3fAoIBG
Seaming Tape: https://amzn.to/31nZH7S
First, we needed to create a mold of the fender. We wiped down the original fender using an all purpose cleaner and microfiber cloth. Next, we doubled back with denatured alcohol. We applied a few thin layers of PVA, allowing about 30 minutes to dry between each coat. This forms a protective barrier to prevent epoxy from sticking to the fender later.

Setting the fender aside to dry, we covered one side of some foam core with seaming tape. Then we cut and hot glued the foam core around the edges of the fender to create a lip for the mold. We chose to make a single piece mold, mainly due to lack of experience. It would have been much better to make a 2 part mold split along the length of the fender for easier de-molding later on.


This will serve as the base for the first epoxy layer, so it’s important to close up any gaps and holes. We used modeling clay and scraper tools to maneuver clay into the crevices and smooth out the transitions.

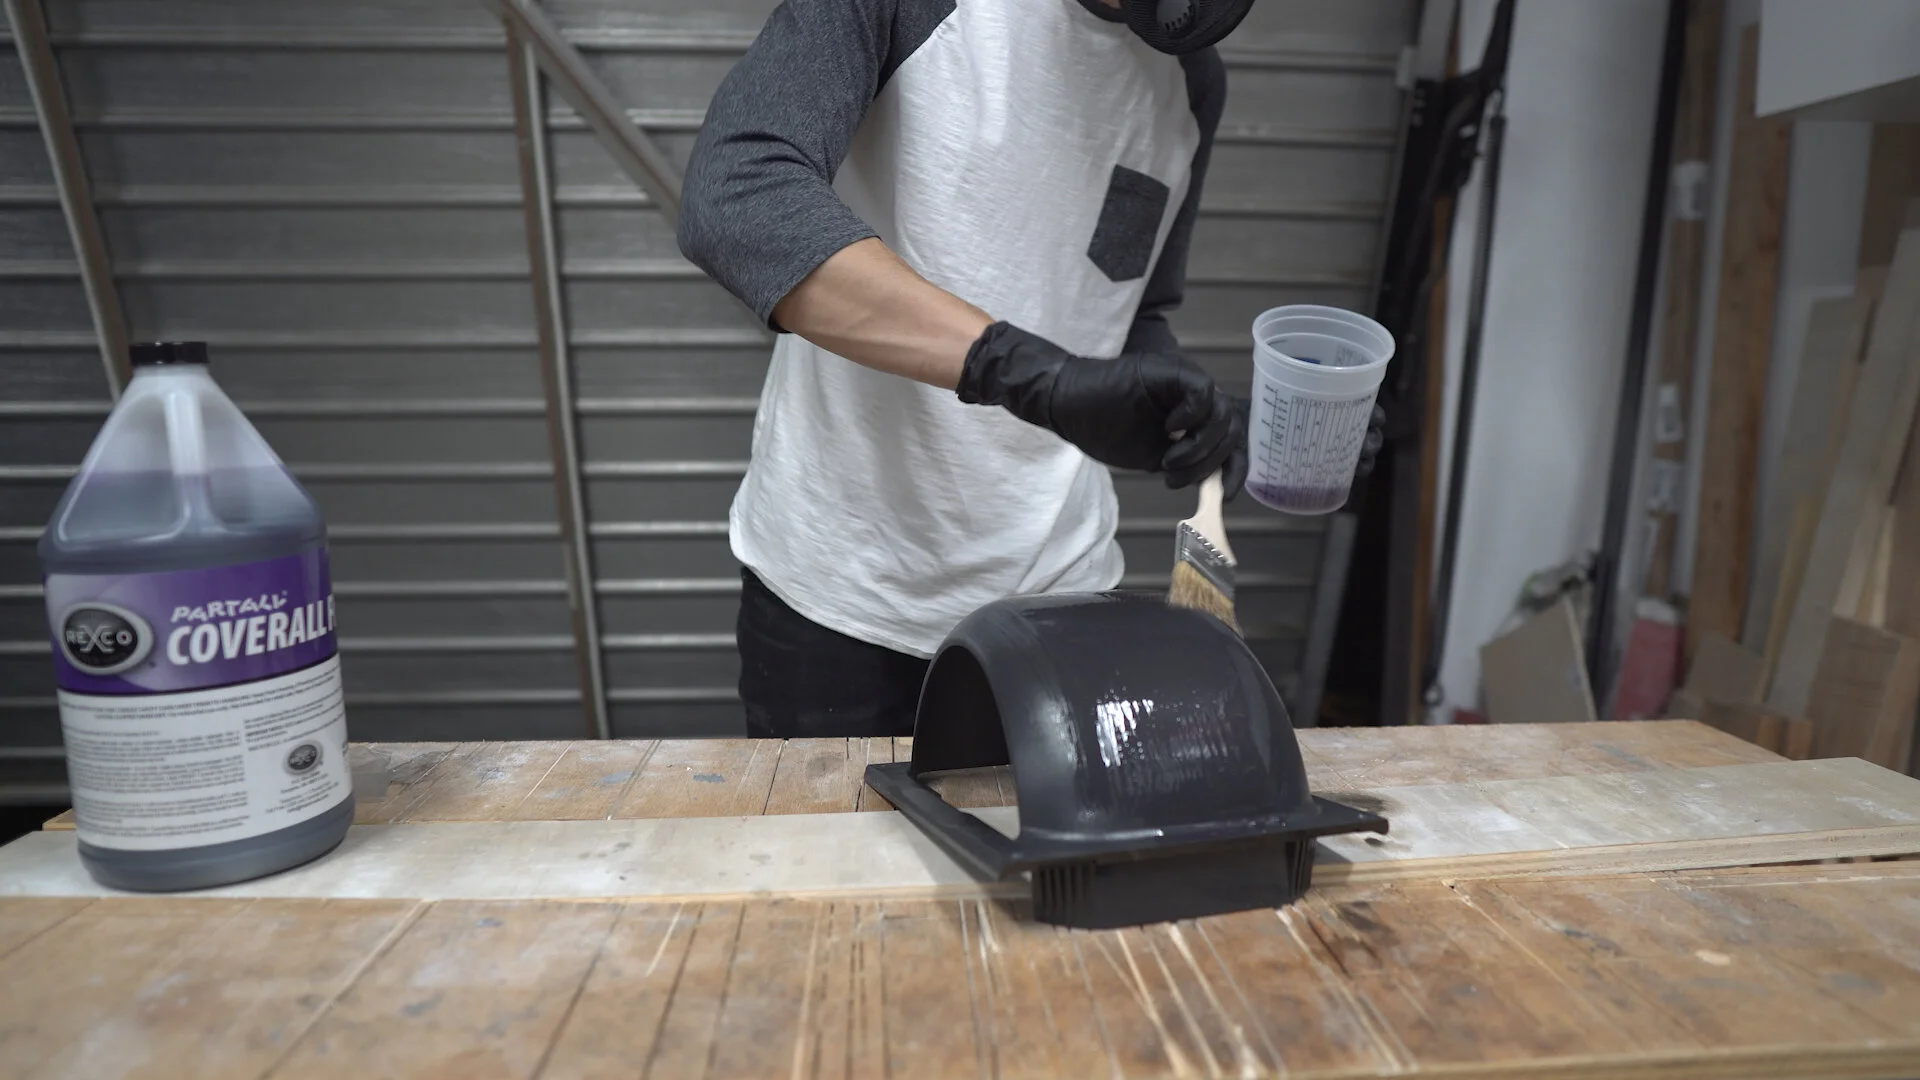
We applied a few thin layers of PVA again, with time to dry between each layer. Next, we mixed 2:1 epoxy resin with a splash of blue pigment for contrast and gave the fender a glaze. Dye would have been better than pigment for uniform coverage because the pigment pooled around the low spots. Alternatively, you can use Gel coat instead of epoxy resin.


When the epoxy became tacky to the touch, we laid shreds of mat fiberglass around the surface of the fender. The hand torn fiberglass was much easier to overlap and mold than whole pieces. Each layer of fiberglass was also soaked in a coat of epoxy. We found that dabbing our paintbrushes worked better than stroking the epoxy on.


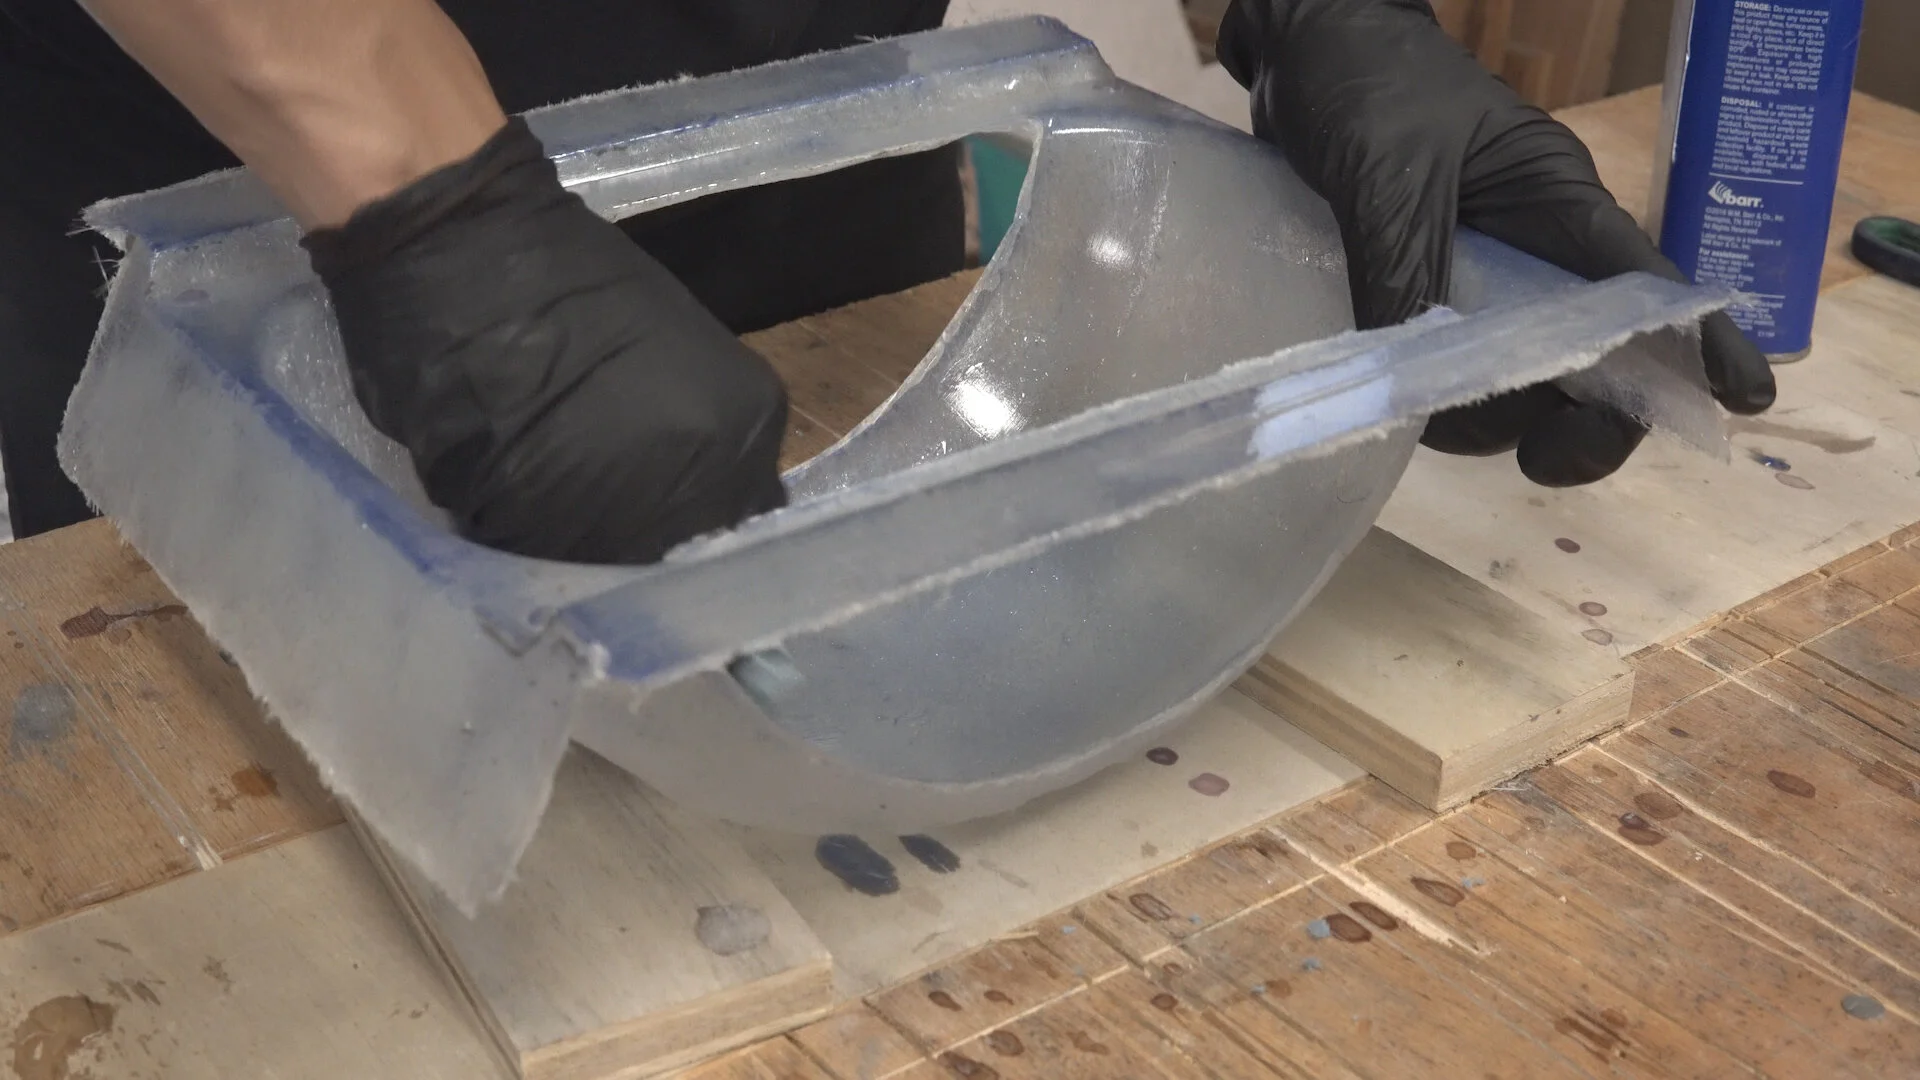
We laid 3 layers of fiberglass and let it dry overnight. Once set, we trimmed the excess edges of the fiberglass with a scissor and dremel tool. Then we gave it a quick sanding and popped off the foam core. After some hammering and prying, we separated the original fender from the mold.
Now that the mold was ready, it was time to make a new fender!

We started with a clean slate by wiping down the mold with denatured alcohol. Next, we lined the edge of the mold with masking tape so the tacky tape can have a good place to stick to later on.

Then we brushed on a few thin layers of PVA waiting 30 mins between each coat as we did before. After mixing some more epoxy, we painted on a thick layer into the mold. In hindsight, we should have used 5:1 epoxy with a slower cure time to give us time to fiddle around with the vacuum bagging process.


As this dried, we lined the edge of the mold with tacky tape and cut the carbon fiber pieces to size. About this time, our epoxy became tacky so we carefully laid down the first carbon fiber layer. We covered the first layer with adhesive spray before laying down the second and third layers of carbon fiber. We really should have laid the carbon fiber without the first layer of epoxy and let the resin infusion process take care of the coverage.


Just above the carbon fiber went in a layer of peel ply and flow media. These create a barrier between the carbon and vacuum bagging film.


This next part was a bit tricky. We placed a vacuum T in spiral plastic hose wrap and taped it along the short ends of the mold on top of the breather material on both sides. Then we place a big sheet of vacuum bagging film over the mold, making sure to seal all the edges with tacky tape. We made large pleats to help crease the film and get into all the nooks. After that, we cut a hole for the vacuum Tees to pop through and sealed the edges with some more tacky tape.


We attached vacuum hose to the Tees. One end goes to the vacuum pump while the other end dips into a bucket full of epoxy. We used an empty coke bottle inline of the pump and mold to catch excess resin as it sucked through the mold. We recommend using a small steel catch can, so it doesn’t crinkle like the coke bottle.
Pro tip- make sure you have all the correct vacuum fittings before hand, so you don’t have to run to the store, causing the epoxy to pool at the bottom and cure awkwardly like it did for us….

After we let the fender cure overnight, we were eager to take everything apart. This process took a while as epoxy had pooled to one side and cured as we lost time maneuvering the correct contraption for the vacuum fitting. We primarily used plastic pry bars to get the carbon copy out of the mold.


Then we did some final shaping and sanding to get a snug fit to the Onewheel and called it complete.

This project was very challenging since it was our first time working with carbon fiber and resin infusion, so there are a lot of imperfections. A wise person once said “Every defect gets respect” #laurakampf. Since the fender is meant to sustain some bumps and scrapes, we’re going to embrace the defects on this one and perfect the process on our next fender.
Thank you for checking out this project. We hope this write up helps you tackling this project yourself!
Happy Making!