
DIY Mobile Lumber Cart
Our garage has been a hot mess with junk piled around and scrap wood scattered all over the floor. To help organize the space, we decided to use some of our plywood scraps to make a mobile lumber cart!
You can see our build video in the link below:
All of the supplies we used are linked below:
Kreg Circular Saw Track: https://amzn.to/3wS3zNp
Makita Cordless Drill and Driver set: https://amzn.to/3mJlUHO
Powerpro Screws 1.5” https://amzn.to/3tgbnGl
Wood Glue: https://amzn.to/2XCUvNf
Locking Casters: https://amzn.to/3mJllh0
Washers: https://amzn.to/3a8olP6
We had a mixture of ¾” and ½” plywood, but not enough of either to make the cart out of one thickness, so we worked with what we had and played it by ear. But if you’re interested in building your own lumber cart, we modeled a parametric design on Fusion 360 and made plans so you can make one from a single sheet of plywood. Just click the link below to access the plans for FREE
We started by measuring and cutting the front, back, and side panels as well as the divider pieces. We’re using our trusty circular saw with a track saw attachment from Kreg, but you can easily make straight cuts by clamping a straight edge onto the panel and using it as a guide.


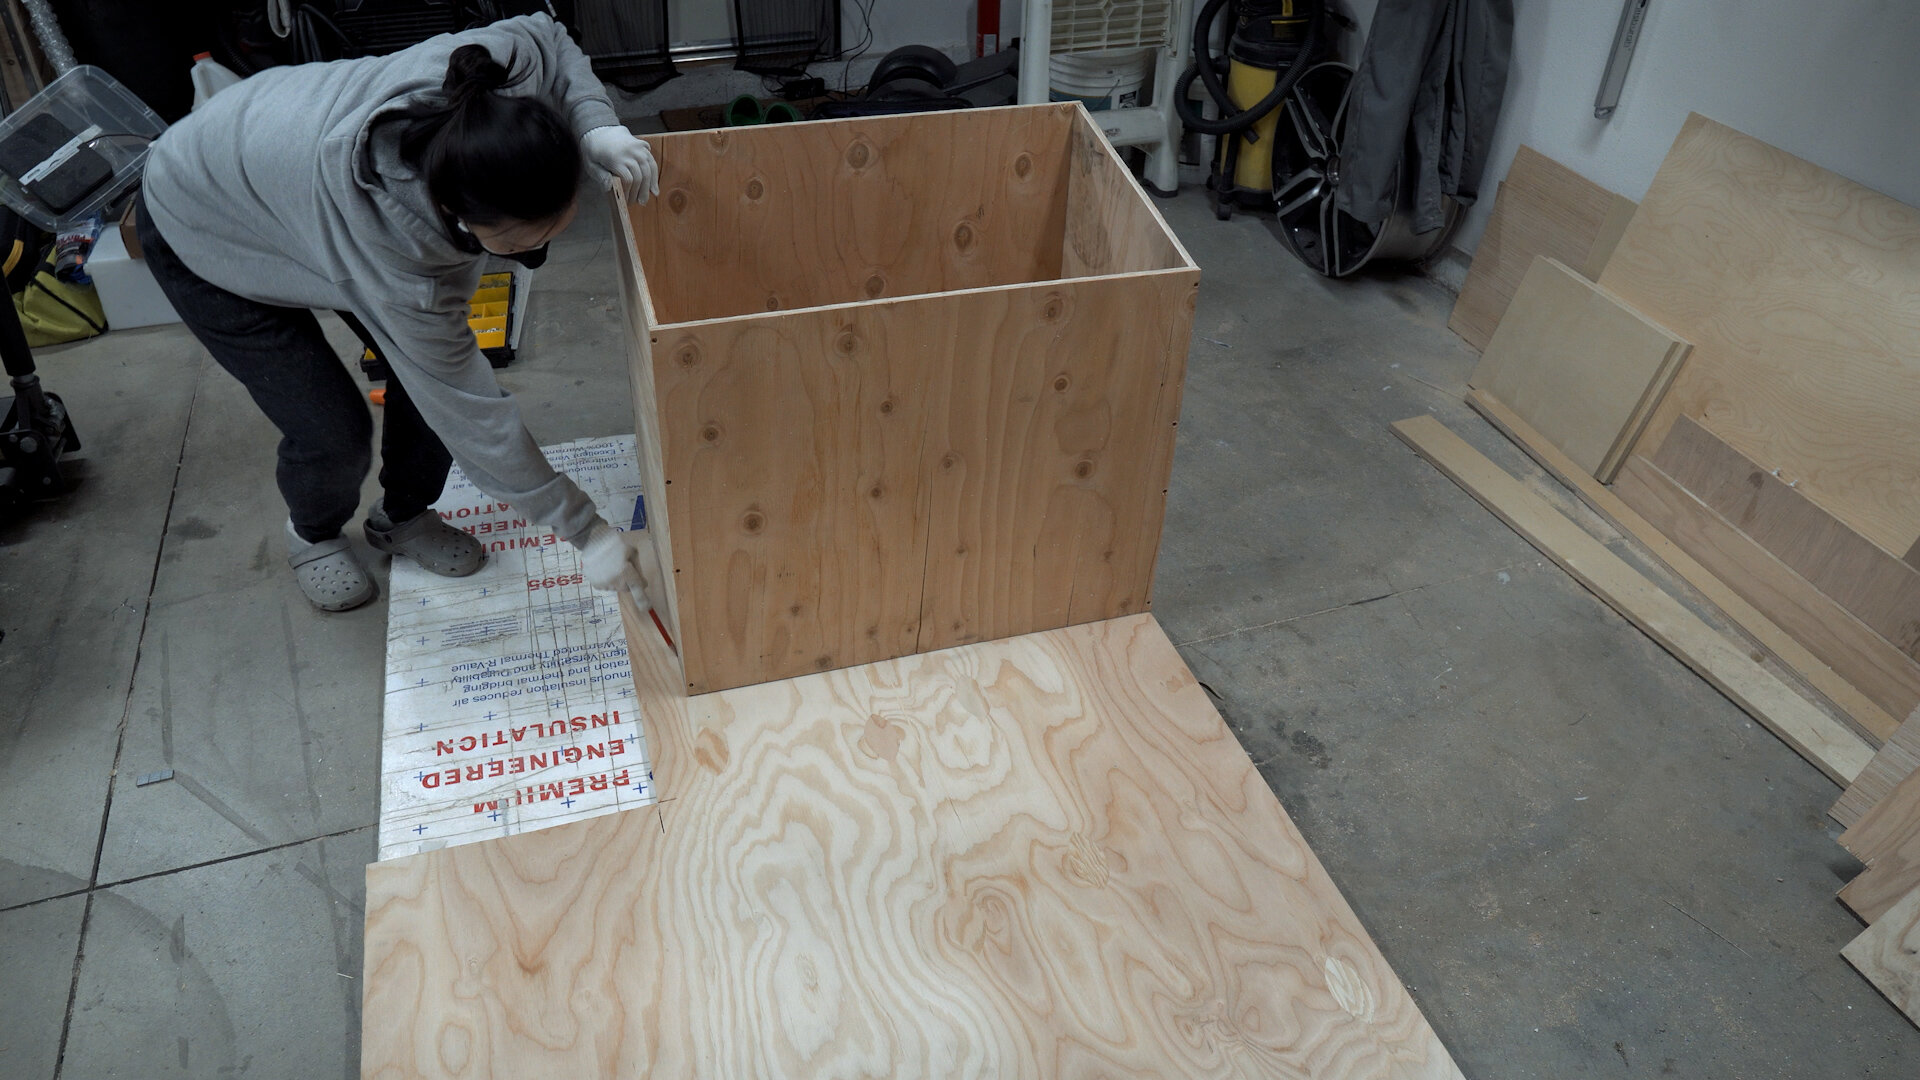
After cutting the panels, we attached the sides to the back panel. We like to use our carpenter’s square and squeezey clamps to hold the two panels together and keep panels square while we predrill and screw the pieces together with 1.5” screws.


We stood the panels upright and used a piece of plywood with the same thickness as the joining piece and traced along the back wall, so we have a reference to make sure we screw along the center of the edge and prevent blowing out from either face.


Then we attached the front panel the same way, making sure to use plenty of wood glue as well.


Once the four walls were attached, we placed it upright onto another piece of plywood and traced the perimeter of the bottom panel. Then we cut it out and attached it with more wood glue and screws.

At this point, we attached locking casters onto the bottom panel, so we can roll the cart around if we need to and fix it in place for storage. The mounting holes on the casters are slightly larger than the screw heads, so we used washers between to make sure they’re secure.

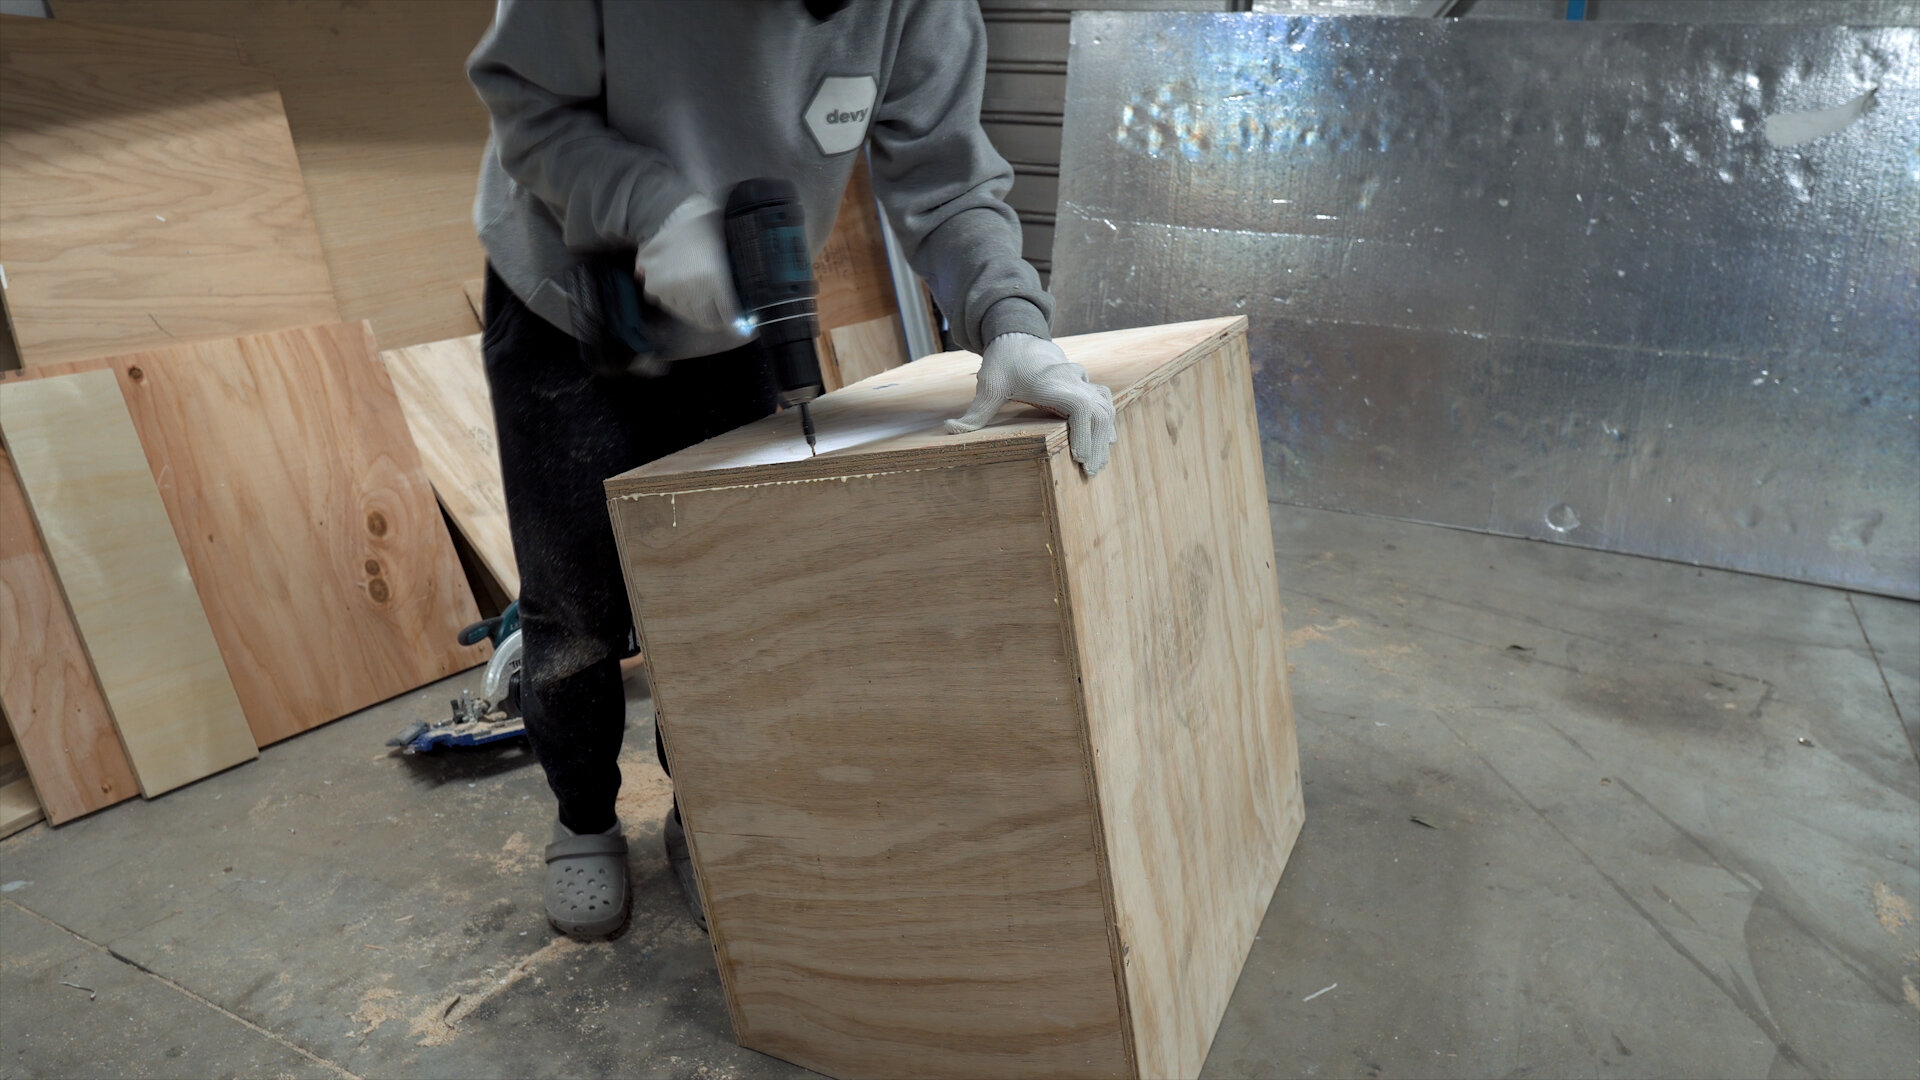
Now that the main box is complete, we placed it upright then slid the divider panel in and used a scrap piece as a spacer to make sure it fits evenly on both sides.
Here, we need to drill in from the outside of the box to the divider inside. To help guide us on where to screw, we used the front panel as a reference and locked the tape measure at the distance to the divider. Then we scribed a line along the side wall giving us a reference to the edge of the divider.


Finally, we used the scrap piece we used as a spacer as another divider. We screwed it in from the front.
And that’s it! Pretty simple – a box on wheels with a few dividers to store our scraps! All we have to do now is fill it up!

This was a super simple one day project and it made a HUGE impact with organizing our garage space. Now that we freed up some floor space, there might be more garage related projects in the future!
Thanks for following along!